Butterfinger Balls

Five-ingredient Butterfinger centers dipped in chocolate and sprinkled with extra Butterfinger bits — a simple, nostalgic no-bake treat that chills in just an hour.
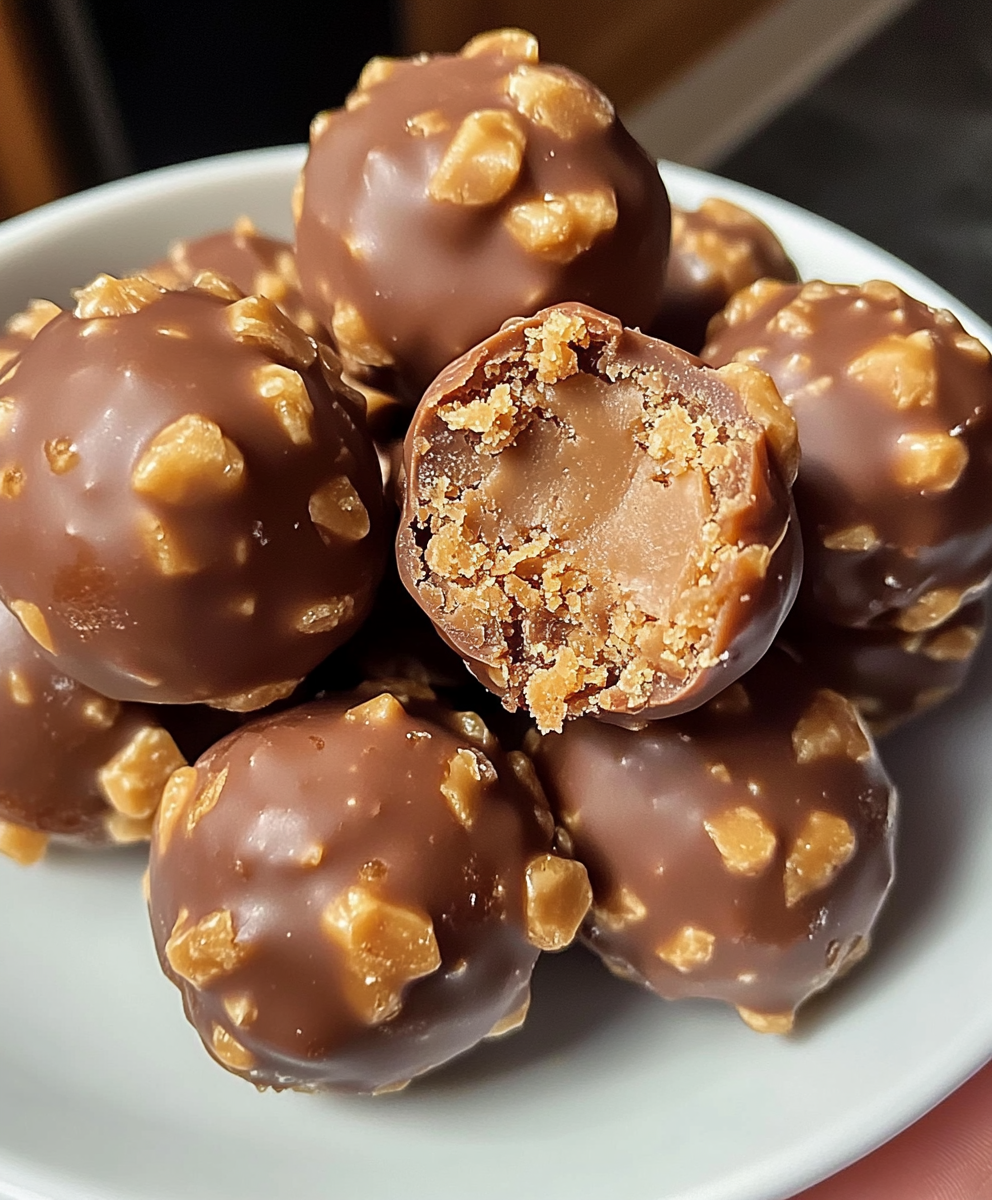
This recipe is my go-to for holidays, potlucks, and any moment I need a crowd-pleasing sweet that travels well. I first made these Butterfinger Balls on a rainy afternoon when I wanted a candy reminiscent of the childhood chocolate bars I loved, but in a bite-sized form. The filling is silky from peanut butter and butter, lightly sweetened with powdered sugar, and studded with crunchy Butterfinger Bits so each bite has that unmistakable crunchy, peanut-buttery snap. I remember my nephew sneaking back to the kitchen three times before dinner because he couldn’t resist them.
What makes these special is their simplicity. With only five core ingredients and no baking required, they come together in about 30 minutes of active time and then chill until set. The balance of sweet chocolate coating, salty peanut butter, and crisp candy pieces creates texture and flavor contrast. I like to make a double batch when I know friends are coming over because they disappear fast. Rebecca Hubbell developed this version to be approachable for bakers of any skill, and it’s become a staple on my dessert tray for good reason.
Why You'll Love This Recipe
- Five ingredients and no oven required: ready to portion in about 30 minutes and chill for an hour, ideal for last-minute gatherings.
- Makes approximately 34 bite-sized pieces, perfect for parties, cookie exchanges, or lunchbox treats without extra fuss.
- Uses pantry-friendly items like creamy peanut butter and powdered sugar; Butterfinger Bits add distinctive crunch and familiar candy flavor.
- Dipping in melted wafers or chips produces a shiny, resilient shell that seals in the filling and makes them easy to transport.
- Make-ahead friendly: refrigerate for up to 7 days or freeze for up to 3 months for easy dessert planning.
- Flexible for substitutions: swap melting wafers for chocolate chips with a touch of coconut oil for smoother dipping.
I’ve served these at birthday parties, holiday get-togethers, and casual game nights. Family reaction is always the same: surprised delight and an immediate request for the recipe. One winter I made a tray for a neighborhood cookie swap and ended up exchanging them for two loaves of banana bread and a jar of homemade jam because people wanted more. That kind of feedback tells me these are small but memorable.
Ingredients
- Creamy peanut butter: Use 1 1/3 cups of a smooth commercial brand such as Jif or Skippy for consistent texture and sweetness. All-natural varieties with separated oil can make the filling looser; if using natural, stir well and reduce any extra oil.
- Salted butter: 1/2 cup softened butter adds creaminess and helps the mixture firm up when chilled; European-style butter gives a richer flavor.
- Vanilla extract: 1 teaspoon of pure vanilla rounds out the flavor and lifts the sweetness without tasting overtly vanilla-heavy.
- Powdered sugar: 2 cups sifted confectioners sugar provide structure and a smooth mouthfeel. Sifting prevents lumps and yields a clean, satiny filling.
- Butterfinger Bits: 1 1/2 cups mixed into the filling and extra for topping; these bring crunchy texture and the iconic Butterfinger taste. Nestle or store-brand Butterfinger bits are fine; chop larger pieces slightly if necessary.
- Chocolate melting wafers: 3 cups for coating. Melting wafers create a glossy, durable shell; alternatively, good-quality semisweet chocolate chips with a teaspoon of coconut oil per cup will work.
Instructions
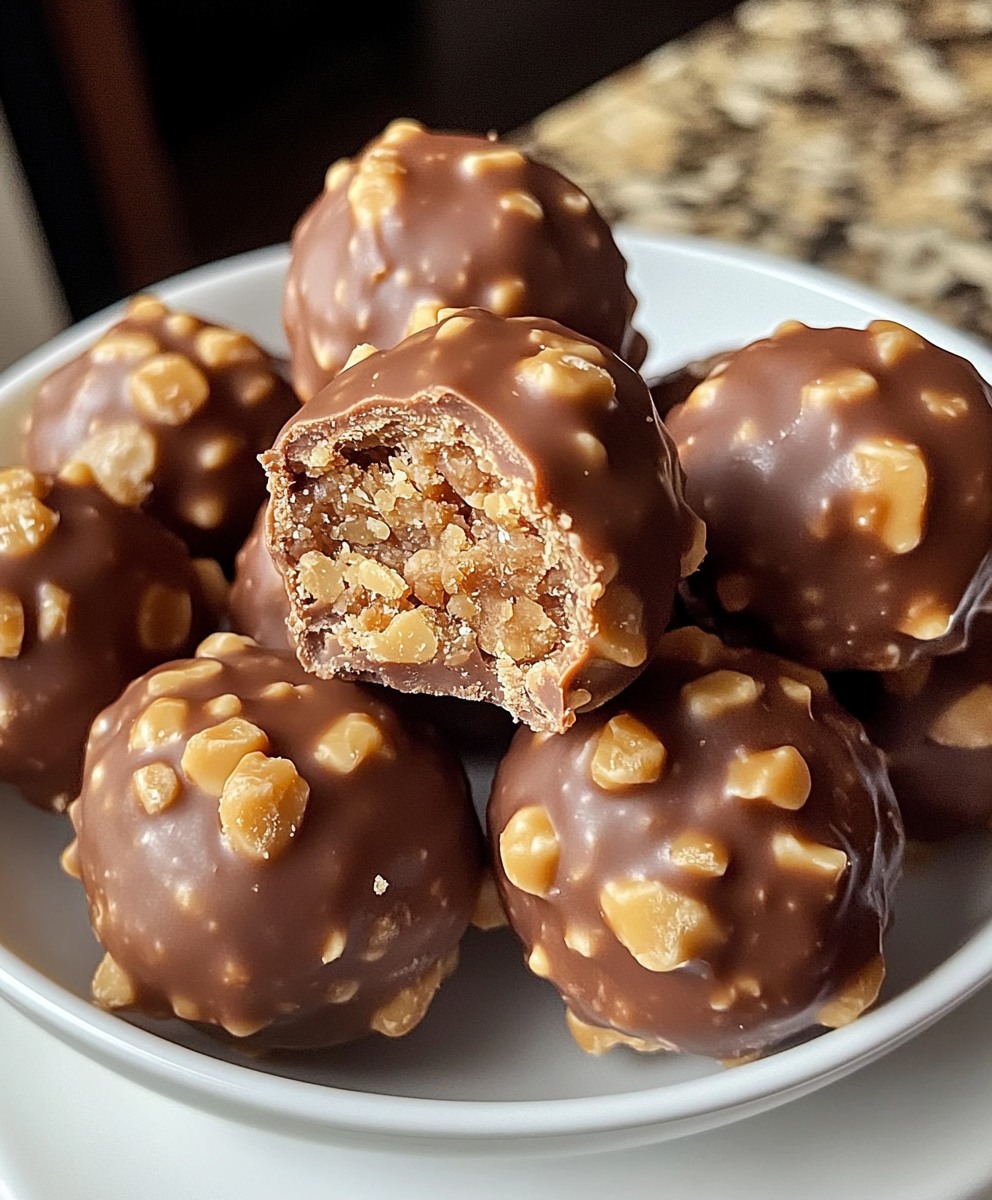
Cream the base: Add 1 1/3 cups creamy peanut butter, 1/2 cup softened salted butter, and 1 teaspoon vanilla to a large mixing bowl or stand mixer fitted with the paddle. Beat on medium speed for about 30 seconds until smooth and homogeneous. Proper creaming reduces graininess when you add the powdered sugar. Add powdered sugar: Sift 2 cups powdered sugar into the bowl and beat on low to medium until fully incorporated and smooth, about 45 to 60 seconds. The mixture should pull away slightly from the sides of the bowl and be firm enough to scoop. If it seems too soft, add a tablespoon more powdered sugar at a time. Fold in candy pieces: Gently fold 1 1/2 cups Butterfinger Bits into the filling with a spatula so you retain some crunch. Overmixing will crush the candy too finely; aim for visible, crunchy flecks throughout. Chill the mixture: Cover the bowl and refrigerate the filling for 30 minutes to firm up. Chilling makes rolling cleaner and prevents the balls from becoming oily when you handle them. Portion and freeze: Line a baking sheet with parchment. Use a medium cookie scoop to portion the chilled filling and roll each portion quickly between your palms into a smooth ball. Place on the sheet and freeze for 20 to 30 minutes; they should be firm but not rock solid so chocolate can adhere. Melt chocolate: When the centers are nearly frozen, melt 3 cups chocolate melting wafers in a wide microwave-safe bowl in 30-second intervals, stirring between each interval until smooth. If using chocolate chips, add 1/2 teaspoon coconut oil per cup to improve flow. Dip and finish: Use a dipping fork or regular fork to lower each ball into the melted chocolate, letting excess drip back into the bowl. Place dipped balls on parchment, sprinkle additional Butterfinger Bits on top, and let the chocolate set at room temperature or in the refrigerator until firm.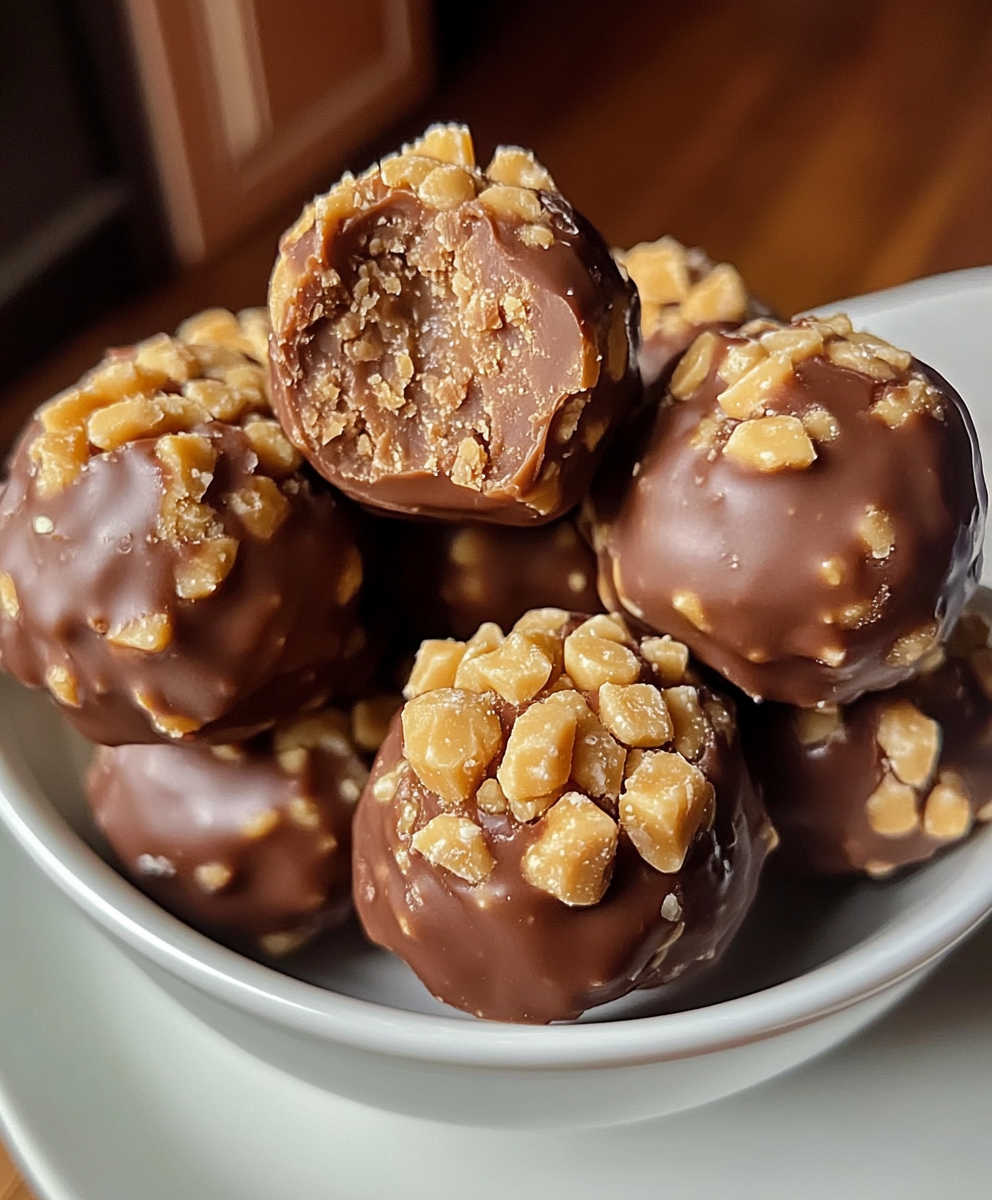
You Must Know
- Store in an airtight container in the refrigerator for up to 7 days; freeze for up to 3 months in a labeled freezer bag.
- Chocolate coating requires depth: keep enough melted chocolate so the balls can be dipped almost fully without covering the top to allow for topping adhesion.
- Do not let filled balls sweat before dipping; room-temperature, moist fillings can cause chocolate to seize and not adhere properly.
- If using chocolate chips instead of wafers, add coconut oil to improve shine and mouthfeel; this also helps the shell set without cracking.
My favorite aspect is the crunch contrast. The Butterfinger Bits inside and on top create a layered texture that reminds me of the candy bars I loved as a child, while the silky peanut butter filling keeps each bite satisfying. These have become a holiday tradition in my kitchen; giving them away as gifts wrapped in small boxes always brightens someone’s day.
Storage Tips
For short-term storage, arrange pieces in a single layer in a shallow airtight container lined with parchment to prevent sticking and refrigeration for up to 7 days. If stacking is necessary, separate layers with parchment. For longer storage, flash-freeze the tray for 30 minutes, then transfer to a freezer bag or rigid container with minimal air; they keep well for up to 3 months. Thaw in the refrigerator overnight to avoid condensation on the chocolate. If you plan to mail them, place them in an insulated container with gel ice packs to prevent melting in transit.
Ingredient Substitutions
If you prefer a chocolate variation, swap semisweet or milk chocolate melting wafers for dark chocolate for less sweetness. For those avoiding peanuts, use almond or sunflower seed butter, but expect a slightly different flavor and texture and be cautious as Butterfinger Bits may contain peanut traces. If Butterfinger Bits are unavailable, finely chop Butterfinger bars or use crushed toffee bits mixed with a small amount of cornflake crumbs for crunch. For a dairy-free shell, choose dairy-free chocolate wafers and a vegan butter alternative, though texture will vary slightly.
Serving Suggestions
Serve chilled on a dessert platter lined with decorative paper or in cupcake liners for easy grab-and-go presentation. These pair beautifully with coffee or a cold milk glass. For a party, arrange with other no-bake bites like peppermint bark or chocolate-covered pretzels for a varied candy table. Garnish with a tiny sprinkle of sea salt on half of them to create a sweet-salty contrast that guests often gravitate to first.
Cultural Background
Butterfinger candy bars date back to the early 20th century and have inspired countless homemade confections. This bite-sized adaptation taps into American candy traditions of repurposing commercial candy into homemade treats for holidays and church socials. The technique of mixing candy bits into a peanut-butter base and coating with chocolate echoes classic candy-making practices where texture contrast is prized, producing a nostalgic flavor profile that resonates across generations.
Seasonal Adaptations
For winter holidays, press a few red and green sprinkles on top before the chocolate sets or drizzle with white chocolate for contrast. In spring, fold in pastel-colored candy pieces for a festive look. For Halloween, use orange-tinted white chocolate or top with crushed pretzel pieces for a spookier crunch. Adjust the ratio of Butterfinger Bits to filling depending on season: more bits for festive crunch, fewer bits for a creamier center.
Meal Prep Tips
Prepare the filling one day ahead and keep it covered in the refrigerator. On the day of serving, portion and freeze for 20 to 30 minutes, then dip in melted chocolate and finish. This staggered approach saves time and keeps your workspace organized. Pack chilled balls in airtight containers with parchment layers and store in the fridge until the moment of serving for best texture.
These small confections bring together convenience and nostalgia. Whether you’re gifting them, sharing at a party, or keeping a stash in the fridge for an afternoon treat, they deliver a dependable, joyful bite. Try making a batch this weekend and watch how quickly they disappear.
Pro Tips
Chill the filling for 30 minutes before scooping to make rolling easier and less greasy.
Use a medium cookie scoop for uniform sizes so they set evenly and look consistent.
Keep extra melted chocolate in a narrow bowl so you can fully submerge each ball when dipping.
If the chocolate thickens while dipping, warm it in 10-second microwave bursts and stir to regain fluidity.
This nourishing butterfinger balls recipe is sure to be a staple in your kitchen. Enjoy every moist, high protein slice — it is perfect for breakfast or as a wholesome snack any time.
FAQs about Recipes
How long do Butterfinger Balls last?
Yes. Store in an airtight container in the refrigerator for up to 7 days or freeze for up to 3 months.
Can I substitute chocolate chips for melting wafers?
Yes. If you use chocolate chips, add 1/2 teaspoon coconut oil per cup of chips to improve melting and shine.
Tags
Butterfinger Balls
This Butterfinger Balls recipe makes perfectly juicy, tender, and flavorful steak every time! Serve with potatoes and a side salad for an unforgettable dinner in under 30 minutes.
Instructions
Cream base
Combine 1 1/3 cups creamy peanut butter, 1/2 cup softened salted butter, and 1 teaspoon vanilla in a large bowl. Beat on medium until smooth, about 30 seconds.
Incorporate powdered sugar
Sift 2 cups powdered sugar into the bowl and beat on low to medium until the mixture is smooth and begins to pull away from the sides, about 45 to 60 seconds.
Fold in candy
Gently fold 1 1/2 cups Butterfinger Bits into the filling to keep pieces crunchy and visible throughout the mixture.
Chill mixture
Cover and refrigerate the filling for 30 minutes to firm up for scooping.
Portion and freeze
Scoop the chilled mixture with a medium cookie scoop, roll into balls, place on parchment, and freeze for 20 to 30 minutes until firm but not rock solid.
Melt chocolate
Melt 3 cups chocolate melting wafers in a wide microwave-safe bowl in 30-second intervals, stirring between each, until smooth. If using chips, add 1/2 teaspoon coconut oil per cup.
Dip and set
Dip frozen centers into melted chocolate using a fork, place on parchment, sprinkle extra Butterfinger Bits, and let the chocolate set at room temperature or in the fridge.
Last Step: Please leave a rating and comment letting us know how you liked this recipe! This helps our business to thrive and continue providing free, high-quality recipes for you.
Nutrition
Did You Make This?
Leave a comment & rating below or tag
@sararecipes on social media!
Categories:
You might also like...
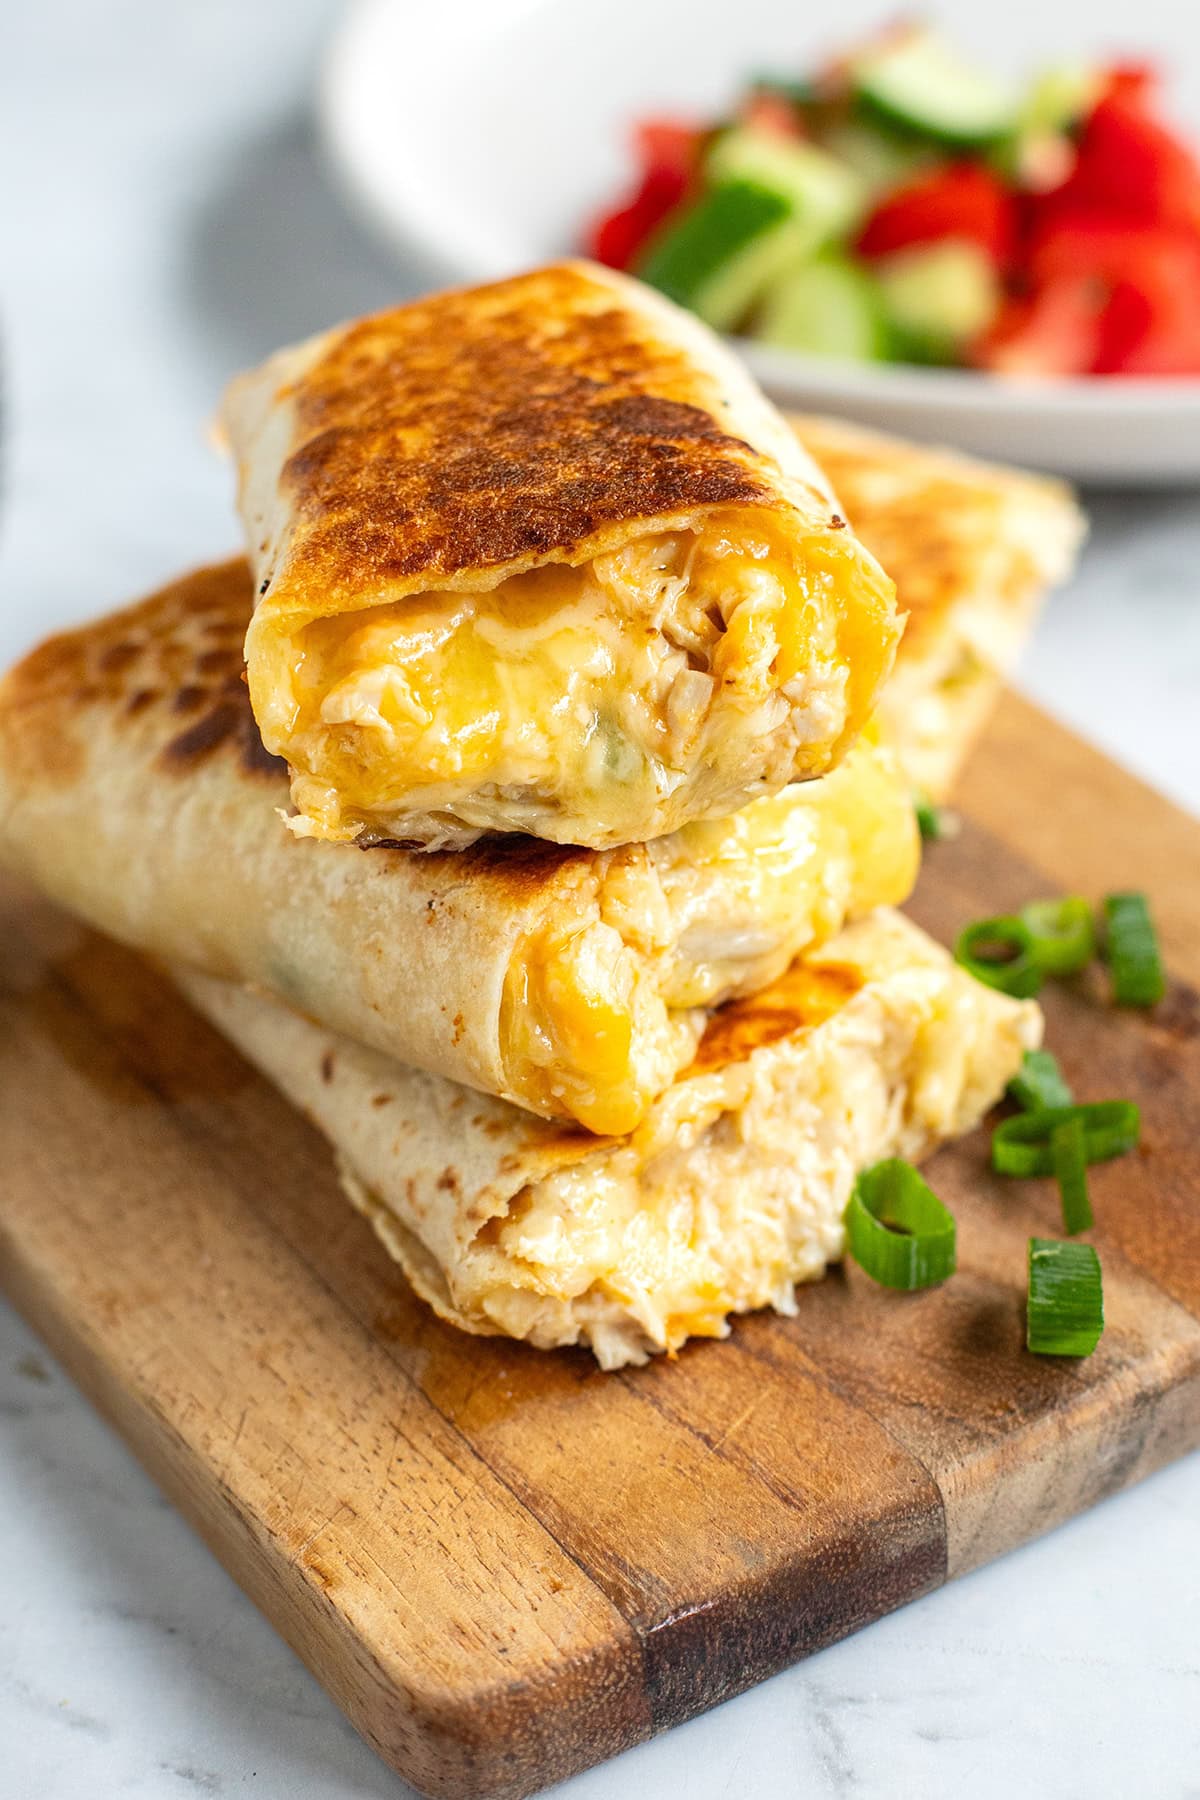
Cheesy Chicken Garlic Wraps
Golden chicken tucked into crisped tortillas with melty cheddar and mozzarella, plus a creamy garlic sauce. Weeknight-friendly and ready in 25 minutes.
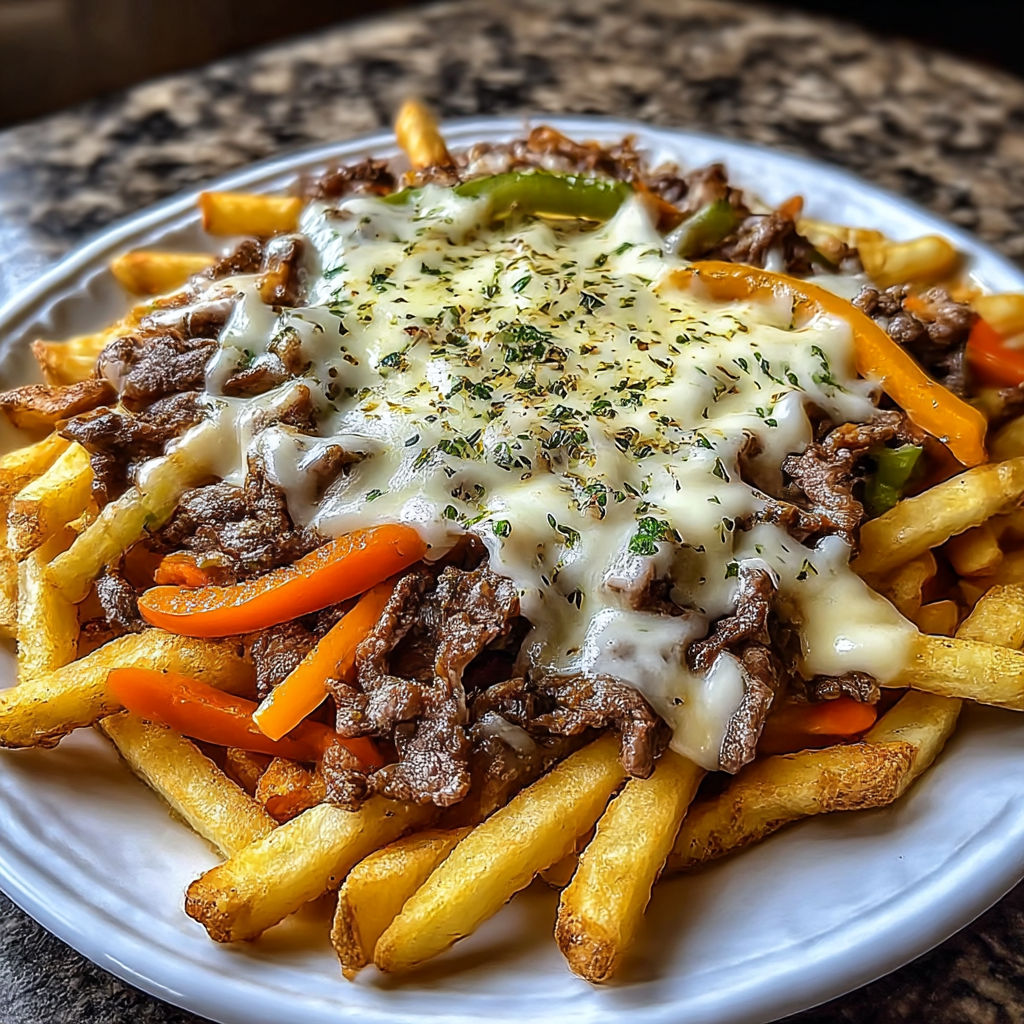
Philly Steak Cheese Fries
Crispy waffle fries piled with tender sliced steak, sautéed peppers and onions, and gooey American cheese—an indulgent, shareable skillet perfect for weeknight dinners or game-day gatherings.
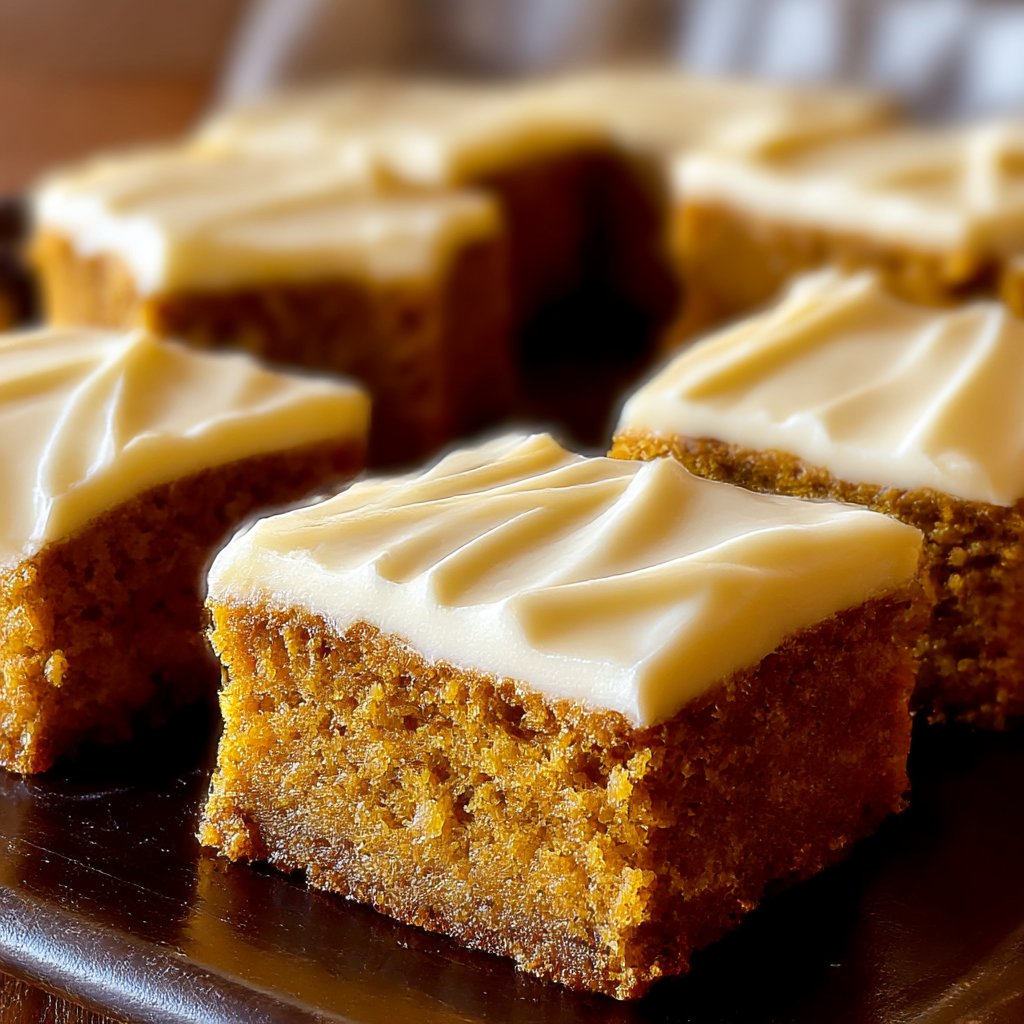
Old-Fashioned Pumpkin Bars with Cream Cheese Frosting
Tender, spiced pumpkin bars finished with a silky cream cheese frosting—perfect for fall gatherings, potlucks, and cozy afternoons.
Did You Make This?
Leave a comment & rating below or tag @sararecipes on social media!
Rate This Recipe
Share This Recipe
Enjoyed this recipe? Share it with friends and family, and don't forget to leave a review!
Comments (1)
This recipe looks amazing! Can't wait to try it.
Comments are stored locally in your browser. Server comments are displayed alongside your local comments.
Hi, I'm Sara!
What's Popular
30-Minute Meals!
Join to receive our email series which contains a round-up of some of our quick and easy family favorite recipes.