>>

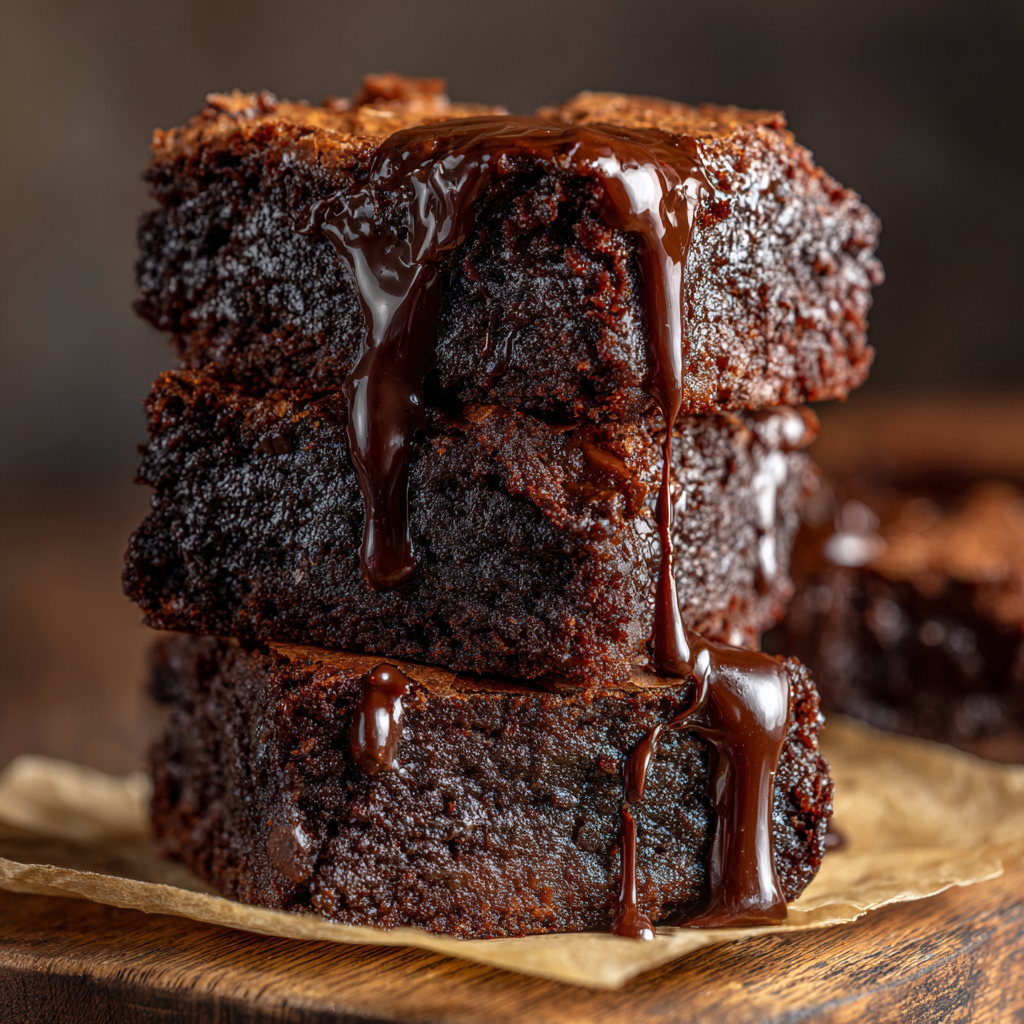
A delightful hybrid of fudgy chocolate brownies and chewy mochi cake, these squares are rich, tender, and perfectly chewy — a crowd favorite for breakfast, snack, or dessert.

This recipe blends the best of two worlds: deep, fudgy chocolate and the irresistible chew of mochi. I first made these on a rainy Saturday while craving something chocolatey and texturally interesting. The combination of mochiko sweet rice flour with cocoa made a dense, slightly elastic square that keeps its moistness for days. It quickly became a go to for potlucks and a way to surprise friends who expect traditional brownies.
What makes these so memorable is the contrast between the glossy, slightly crackly top and the tender, cohesive interior. The batter is forgiving and comes together without fancy equipment. I discovered the ideal baking time after a few tries: long enough to set the rice batter but short enough to preserve fudgy richness. Every time I slice one, the kitchen smells like toasted rice and chocolate, and guests ask for the recipe.
I remember bringing a tray to a small brunch and watching skeptical friends take a bite then close their eyes in surprise. One friend said it tasted like a cross between mochi and molten chocolate cake. My kids request them for school lunches because a little chew and a lot of chocolate is a winsome combination.
My favorite thing about these is how reliably they travel. I have taken them to picnics and the texture holds better than a classic brownie. Once, after a long family hike, these were the first treats eaten and the chewy center was a delightful surprise for everyone. They are also forgiving to small tweaks so I often adjust chocolate or sugar slightly based on who I am serving.
Store cooled pieces in an airtight container at room temperature for two to three days. For longer storage place individual squares in plastic wrap then in a freezer safe bag and freeze for up to three months. To reheat from chilled, warm gently in a low oven at 300 degrees Fahrenheit for five to ten minutes to refresh the chew without melting the chocolate pockets too much. Avoid refrigerating unless your climate is very humid; refrigeration can dry the exterior and change the mouthfeel.

If you need dairy free swap the butter for a neutral oil like canola or refined coconut oil and use a plant based milk such as soy or oat; expect a slightly different texture but still chewy. To reduce sweetness cut sugar to three quarters cup and consider using semi sweet chocolate for the topping. If you prefer a more intense chocolate profile use a darker cocoa and increase the chopped chocolate to five tablespoons. For nutty notes stir in two tablespoons of toasted sesame seeds or finely chopped toasted hazelnuts before baking.
These work well as a breakfast treat alongside strong coffee or as a dessert with a scoop of vanilla ice cream. Garnish with a light dusting of cocoa or a sprinkle of flaky sea salt to enhance the chocolate. For a brunch board pair with fresh fruit, yogurt, and a handful of nuts to balance the chew and sweetness. Cut into smaller bite sized pieces for parties or into larger squares for an indulgent dessert.
The roots of this sweet sit at an intersection of Japanese and American baking. Mochiko flour is commonly used in Japanese confectionery and produces the signature chew in mochi. Combining that texture with classic American chocolate results in a hybrid that has become popular in fusion baking circles. Variations of rice flour sweets have been enjoyed for centuries in East Asia while brownies are a mid twentieth century American creation; this square brings both traditions together.
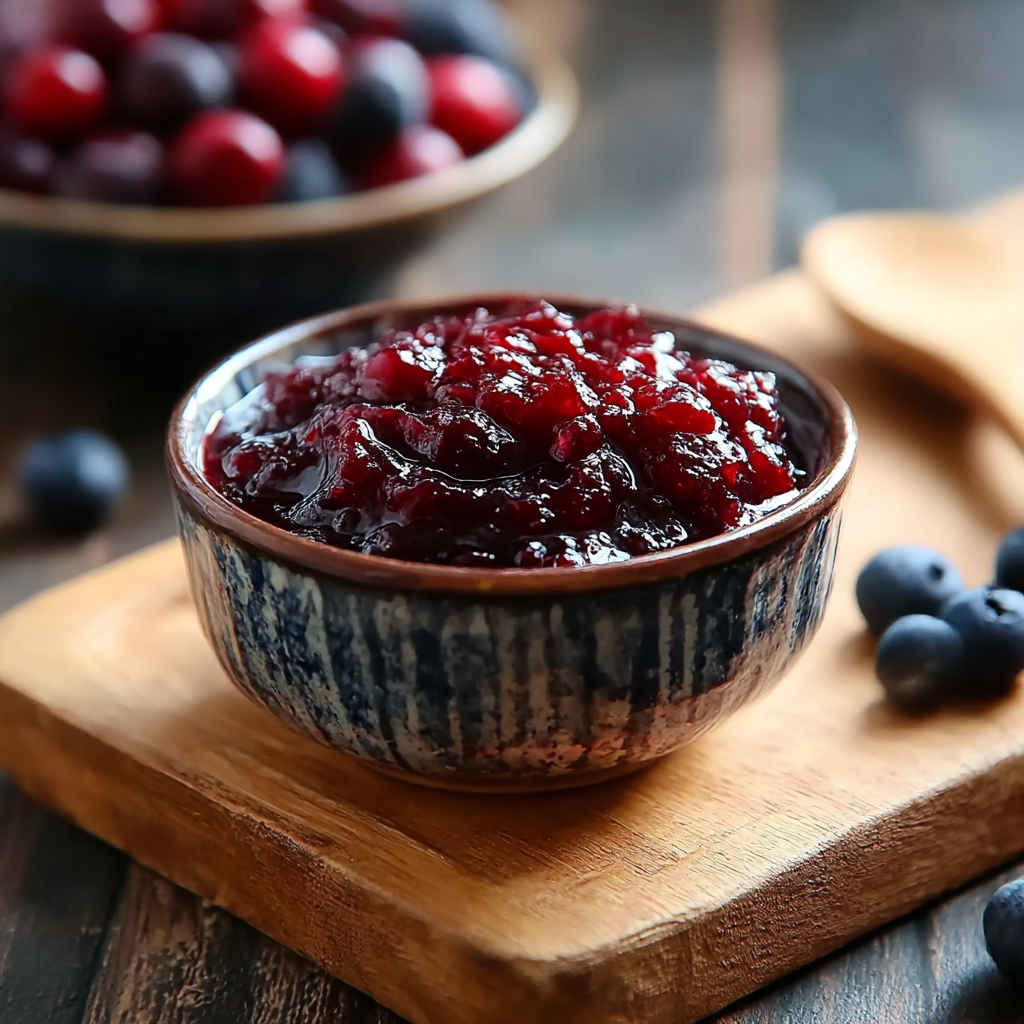
In cooler months, fold in a quarter teaspoon of cinnamon or a pinch of cayenne for warming undertones. For spring and summer consider stirring in a handful of chopped berries just before baking, though the added moisture will slightly shorten bake time. During holidays top with chopped toasted nuts or drizzle with caramel for a festive presentation. Adjust the bake by monitoring the set and using the toothpick test as moisture from additions changes baking time.
Make a double batch and freeze half for quick snacks during the week. Portion squares into individual containers or wrap in parchment and foil for lunches. Because they keep well at room temperature you do not need to refrigerate daily lunch portions. Label frozen packages with date and use within three months for best taste. Reheat only what you plan to eat to preserve remaining freshness.
These squares are a joy to bake and share. They are reliably chewier than a brownie and still deliver the chocolate fix everyone craves. Try them once and you will find yourself reaching for mochiko in the pantry more often.
Allow the pan to cool completely before slicing to let the rice flour structure set and avoid gummy slices.
Use room temperature eggs for a smoother batter and more even rise.
If the top browns too quickly, tent loosely with foil during the last fifteen minutes of baking.
This nourishing mochi brownies recipe is sure to be a staple in your kitchen. Enjoy every moist, high protein slice — it is perfect for breakfast or as a wholesome snack any time.
This Mochi Brownies recipe makes perfectly juicy, tender, and flavorful steak every time! Serve with potatoes and a side salad for an unforgettable dinner in under 30 minutes.
Preheat oven to 350 degrees Fahrenheit. Line an 8 by 8 inch baking pan with parchment paper and lightly grease so the paper stays in place.
Whisk mochiko flour, cocoa powder, granulated sugar and baking powder in a medium bowl until evenly mixed and lump free.
In a large bowl whisk melted butter, eggs, whole milk and vanilla until combined and smooth, making sure no egg streaks remain.
Fold dry mixture into wet until just combined and smooth. Batter will be thinner than typical brownie batter but cohesive.
Pour batter into prepared pan, sprinkle chopped chocolate on top and bake at 350 degrees Fahrenheit for 60 to 70 minutes until set and a toothpick comes out mostly clean.
Cool completely on a wire rack, then lift from pan using parchment and slice into twelve pieces with a sharp knife wiped between cuts.
Last Step: Please leave a rating and comment letting us know how you liked this recipe! This helps our business to thrive and continue providing free, high-quality recipes for you.
Leave a comment & rating below or tag
@sararecipes on social media!
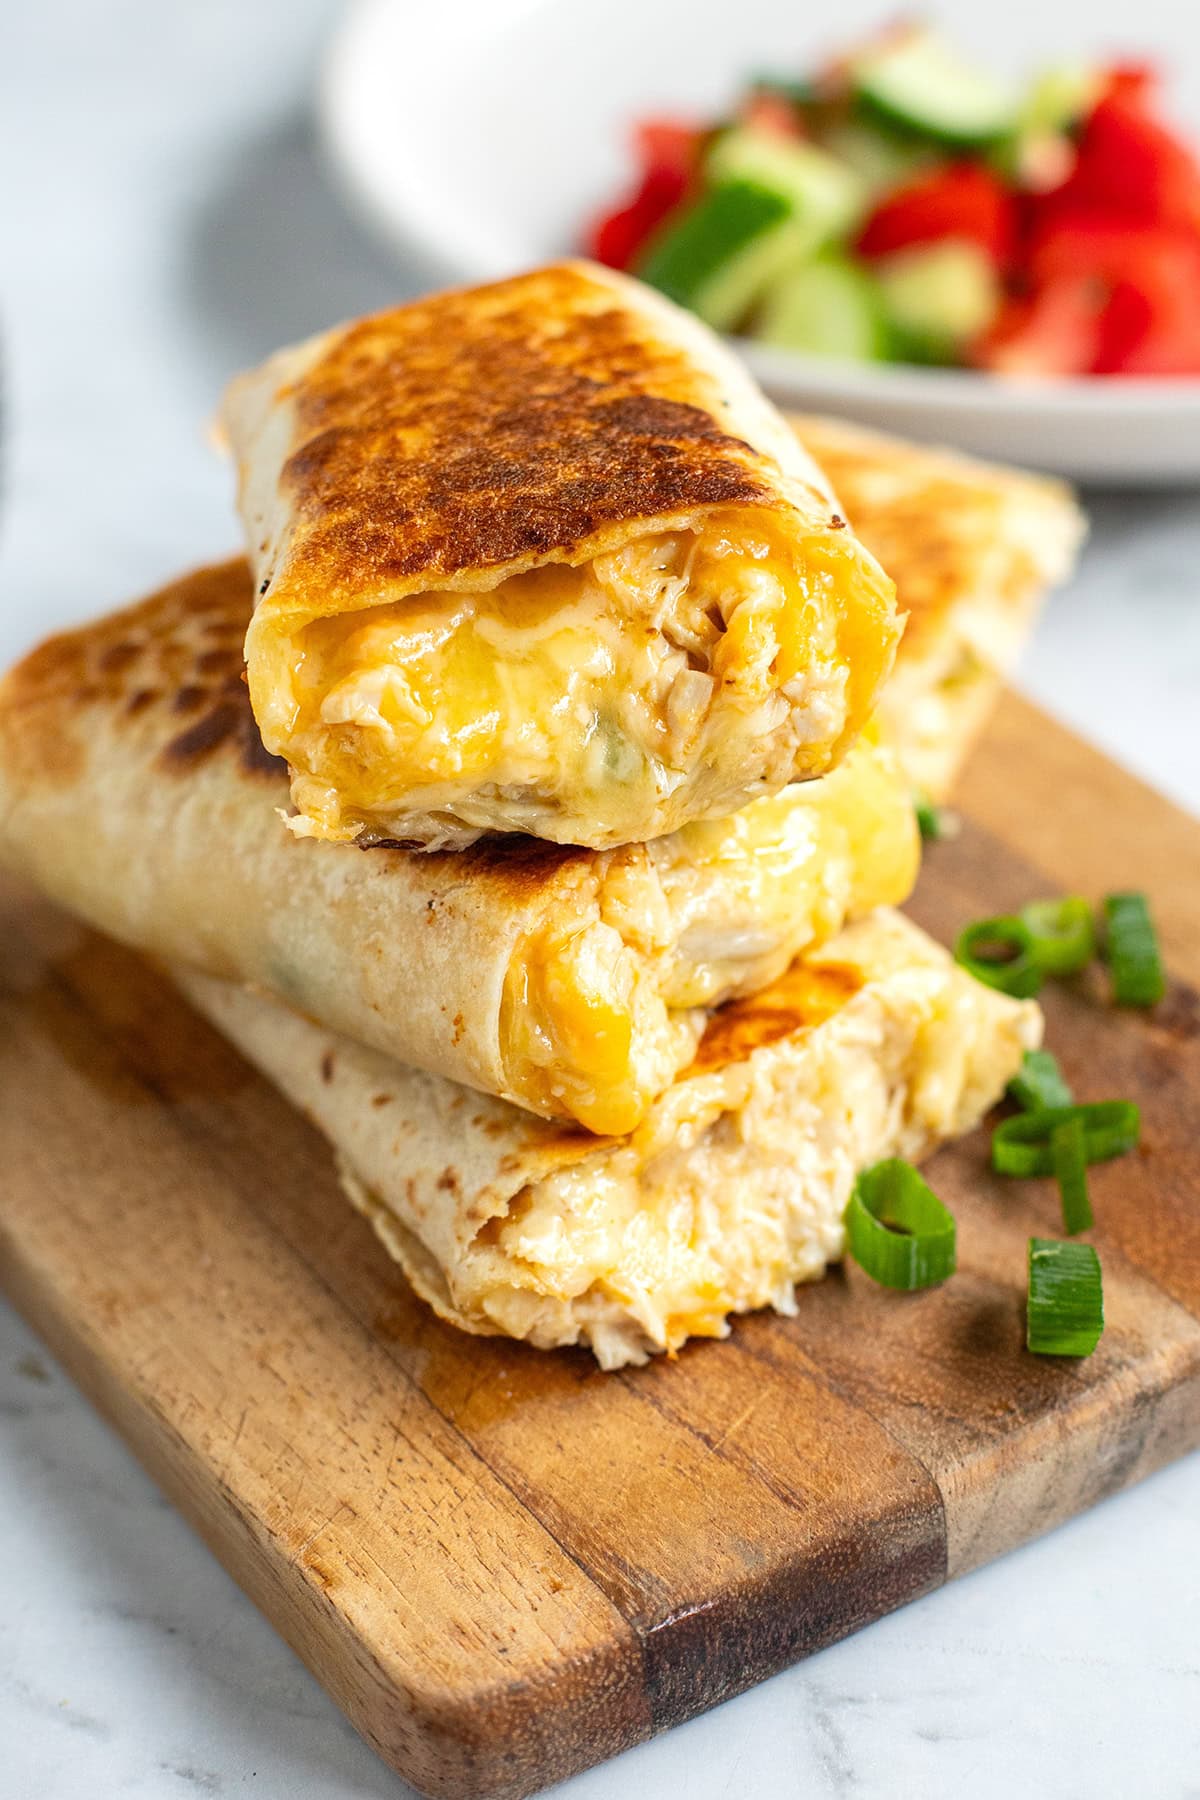
Golden chicken tucked into crisped tortillas with melty cheddar and mozzarella, plus a creamy garlic sauce. Weeknight-friendly and ready in 25 minutes.

Crispy waffle fries piled with tender sliced steak, sautéed peppers and onions, and gooey American cheese—an indulgent, shareable skillet perfect for weeknight dinners or game-day gatherings.
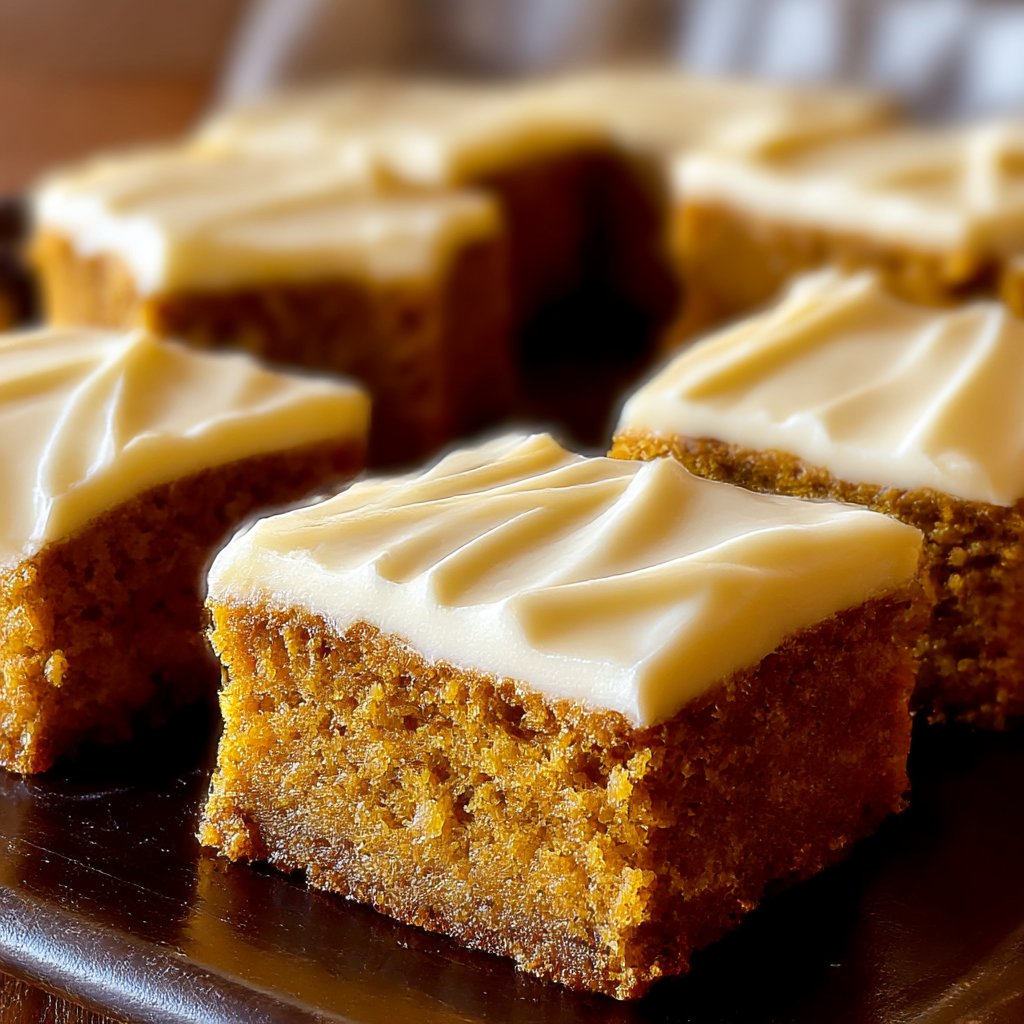
Tender, spiced pumpkin bars finished with a silky cream cheese frosting—perfect for fall gatherings, potlucks, and cozy afternoons.
Leave a comment & rating below or tag @sararecipes on social media!
Enjoyed this recipe? Share it with friends and family, and don't forget to leave a review!
This recipe looks amazing! Can't wait to try it.
Comments are stored locally in your browser. Server comments are displayed alongside your local comments.
Join to receive our email series which contains a round-up of some of our quick and easy family favorite recipes.